
When you get your VEX 123 Kit, there are a few things you can do to get everything set up. This article will cover the basics of preparing the 123 Robot and Coder for use.
123 Robot
Charge the 123 Robot
To begin using your 123 Robot, you must first charge it.
Connect a USB-C cable into the charging port on the 123 Robot. Connect the other end of the cable into a power source.
Go here to see more information about charging the 123 Robot and to learn what the different indicator lights mean.
Turn on the 123 Robot
Turn on the 123 Robot by pushing the wheels along a surface to “wake” the 123 Robot, as shown in this animation. The indicator light will begin pulsing, and you will hear the startup sound to indicate the 123 Robot is turned on and ready for coding.
Touch to Code
You can start coding the 123 Robot by pressing on one of the five touch buttons on its screen:
The Move button moves the 123 Robot forward one "step".
The Right button turns the 123 Robot 90 degrees to the right.
The Sound button makes the 123 Robot play a honk sound.
The Left button turns the 123 Robot 90 degrees to the left.
The Start button executes the behaviors you have coded, in the order in which you pressed the touch buttons.
Erase a Project
Shake the 123 Robot until it makes a sound to erase the project, as shown in this animation.
Turn off the Robot
To turn off the 123 Robot, press and hold the Start button for 3 seconds until the light turns yellow and it makes a sound, as shown in this animation.
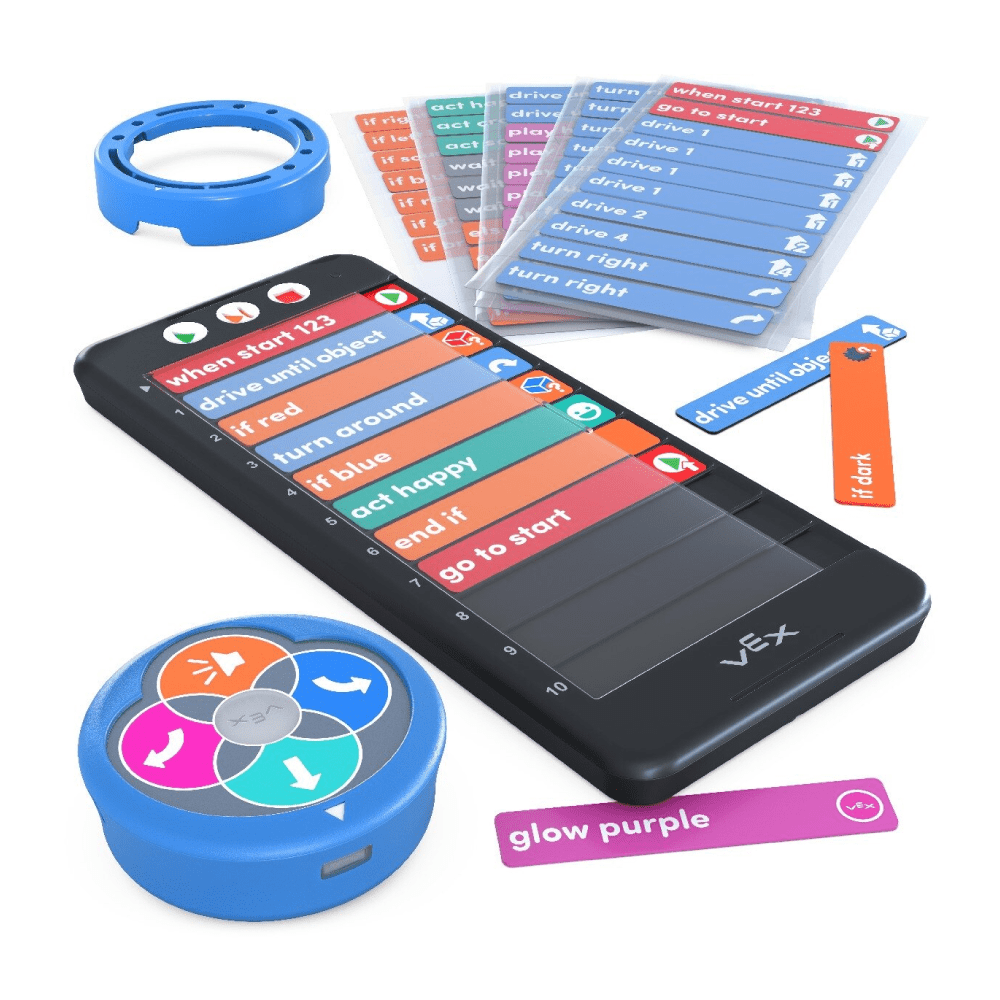
123 Coder
The Coder and Coder cards offer a screen-free method for coding the 123 Robot.
Installing Batteries in the Coder
First, install batteries in the Coder. Use a small screwdriver to open the battery door on the back of the Coder, and install 2 AAA batteries. Go here for more information on installing batteries and using the Coder.
Turning on the Coder
To turn on the Coder, press the Start button as shown in the animation.
Pairing the Coder
To pair your 123 Robot with the Coder, press the Start and Stop buttons on the Coder and the Left and Right touch buttons on the 123 Robot for five seconds, until the 123 Robot plays a sound and its light flashes white in sync with the green light on the Coder, as shown in this animation.
Using the Coder
Insert Coder cards from the right hand side, by sliding them into a Coder slot under the protective cover as shown in this animation.
Once all the desired Coder cards have been inserted, press the Start button to start your project on the 123 Robot.
Turning off the Coder
To turn off the Coder, press and hold the Stop button until the indicator light at the top of the Coder turns off as shown in this animation.
VEXcode 123
VEXcode 123 is the block-based coding platform you and your students can use to program the 123 Robot. Use it online at code123.vex.com or download it from code.vex.com.
For information about how to install VEXcode 123 on your device, go here.
123 Robot Art Ring
The Art Ring is an attachment designed to enable you and your students to add creative elements to the 123 Robot.
For more information about how to use the Art Ring, go here.
Additional Resources
For more information about how to use VEX 123 in your classroom, go here.
To learn how to use the VEX Classroom App to manage multiple 123 Robots at once, go here.