This article is not viewable in your language. Please check back at a future date.
This article's translation was completed by machine translation. Please forgive any possible errors.
Step 1: Gather needed parts and remove VEX ARM® Cortex®-based Microcontroller
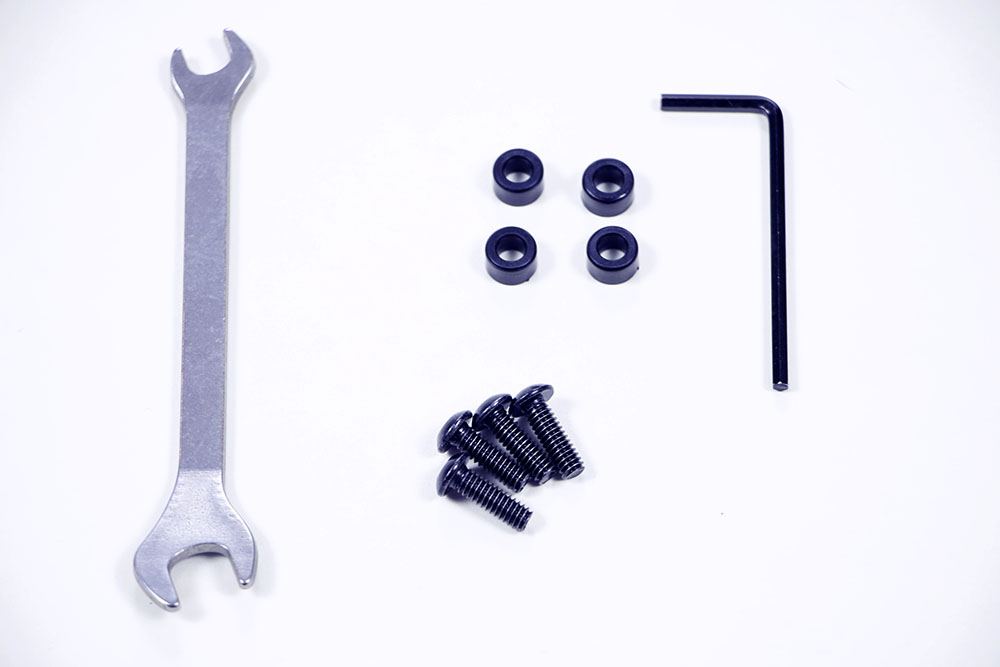
- You will need:
- (1) V5 Robot Brain (not shown)
- (4) 4.6 mm Plastic Spacers
- (4) #8-32 x 1/2” Screws
- (1) 3/32” Hex Key
- (1) 11/32” Wrench
- (1) built VEX EDR Clawbot (not shown)
- When you want to check the V5 Robot Brain and its wiring, you will also need the V5 Robot Battery.
- Use the wrench and hex key to remove the VEX ARM® Cortex®-based Microcontroller from your robot before continuing.
Step 2: Position the V5 Robot Brain
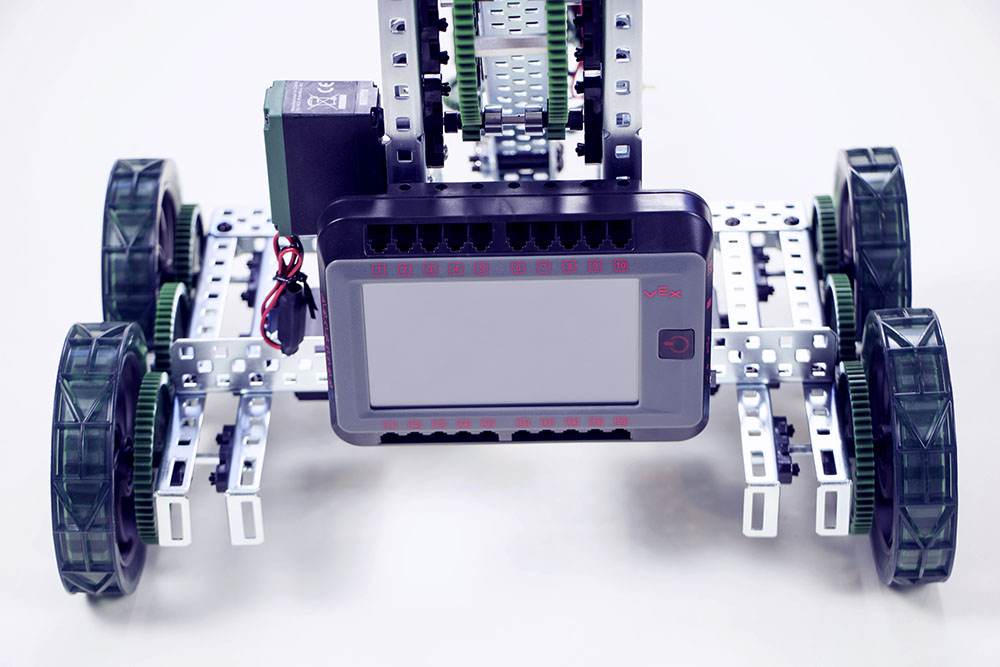
- Make sure there is enough space for the brain at the bottom backside of the wall structure for the Clawbot arm.
- Mount the brain using the fourth and seventh holes up from the bottom of the wall.
Step 3: Secure the V5 Robot Brain
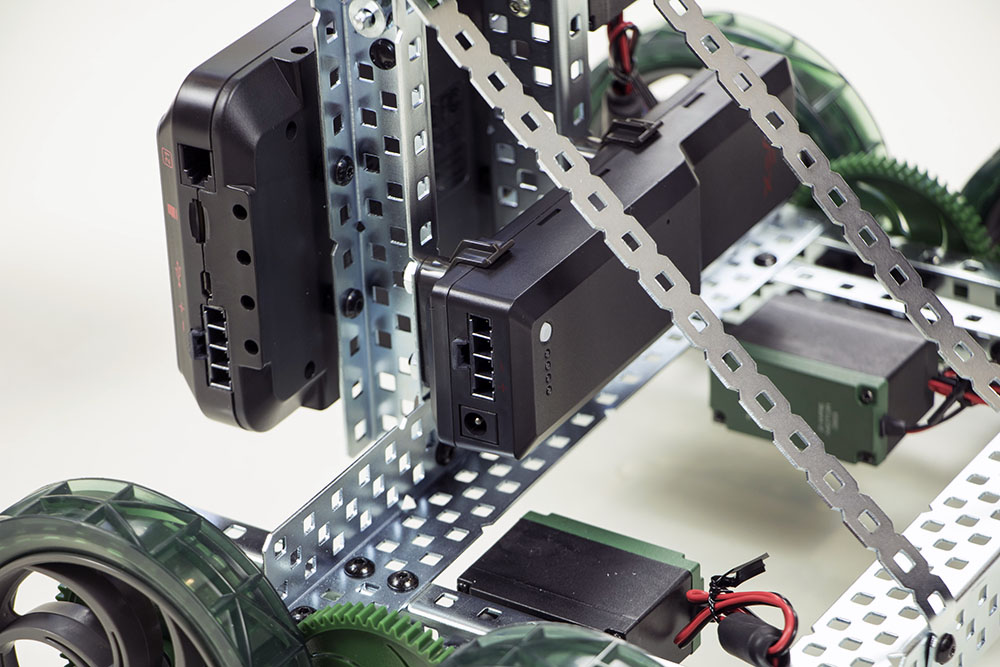
- Use the four 4.6mm Plastic Spacers in the fourth and seventh holes up from the bottom between the V5 Robot Brain and the wall structure to provide room for screws and other components on the Clawbot.
- Use the four #8-32 Screws to secure the V5 Robot Brain to the structure of your Clawbot through the threaded holes in the spacers.
Step 4: Wire the V5 Robot Brain
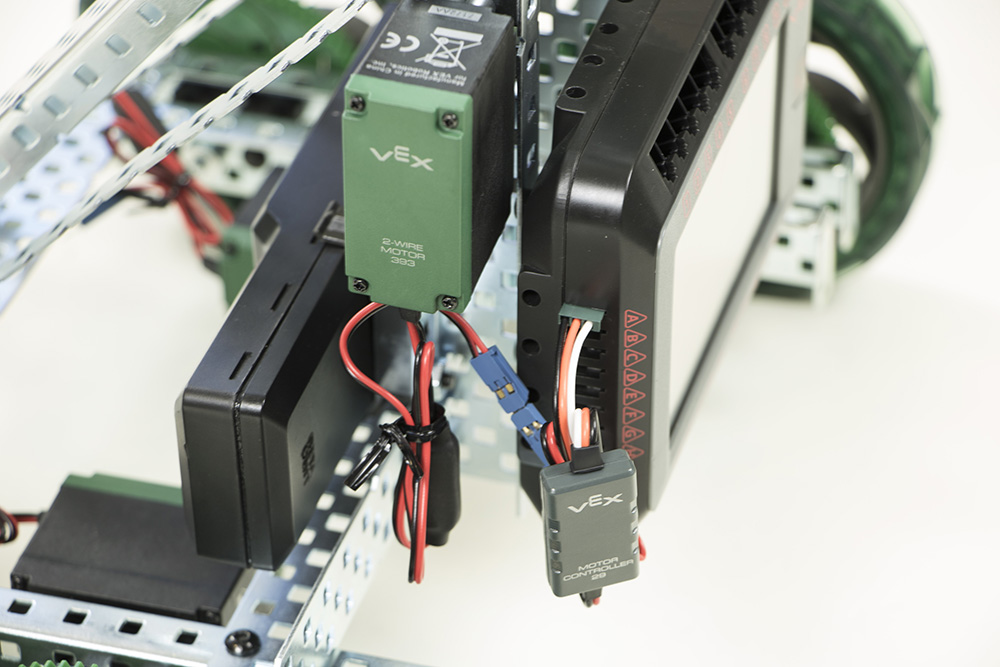
- If it hasn't been already, connect the V5 Robot Battery to the brain and turn on the V5 Robot Brain.
- If using VEX 393 Motors, use a Motor Controller 29 to connect your motors to the V5 Robot Brain into the 3-Wire Ports labeled A through H.
- If using VEX EDR legacy sensors, connect them to the 3-Wire Ports labeled A through H.
- Tap the Device Info screen and then the 3-Wire Ports screen (shaped like an asterisk in a triangle) to check that your sensors were correctly connected.
