This article is not viewable in your language. Please check back at a future date.
This article's translation was completed by machine translation. Please forgive any possible errors.
Step 1: Collect the parts that you need.
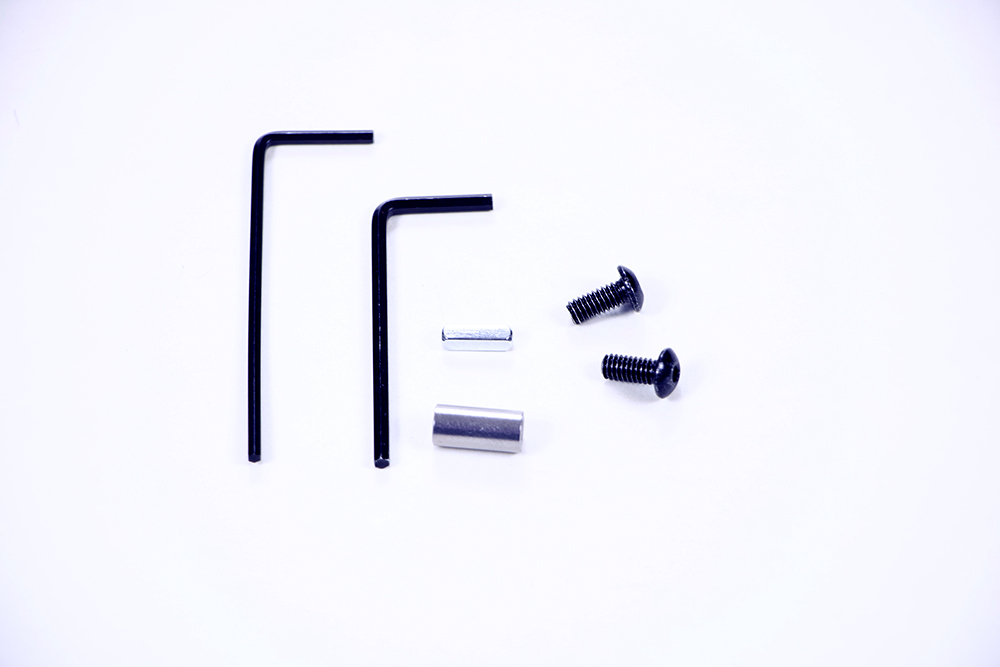
- You will need the following parts:
- (1) V5 Smart Motor (not shown)
- (2) #8-32 x 1/2" Screws
- (1) 5-64" Hex Key
- (1) 3-32" Hex Key
- (1) Shaft Coupler
- (1) 1/2" Shaft
Step 2: Update to the V5 Smart Motor.
- Remove one of your 393 Motors from your Clawbot.
- This example will focus on the V5 Smart Motor powering the movement of the Claw Arm.
- Test the positioning for the V5 Smart Motor. It should fit in its place.
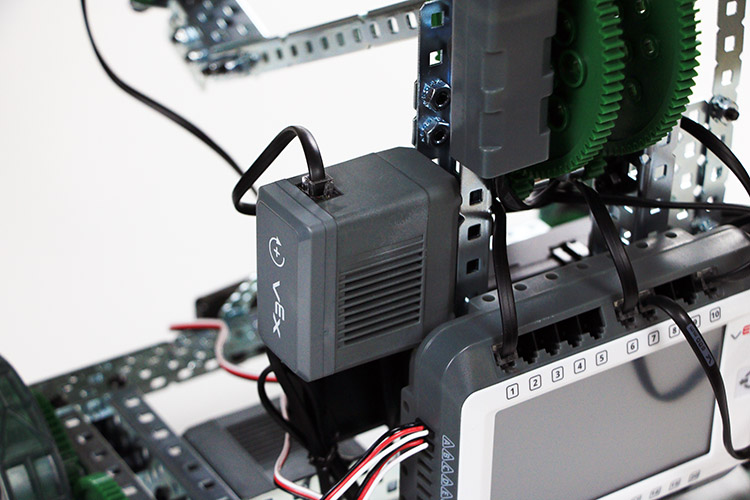
Step 3: Secure the V5 Smart Motor and wire it to V5 Robot Brain.
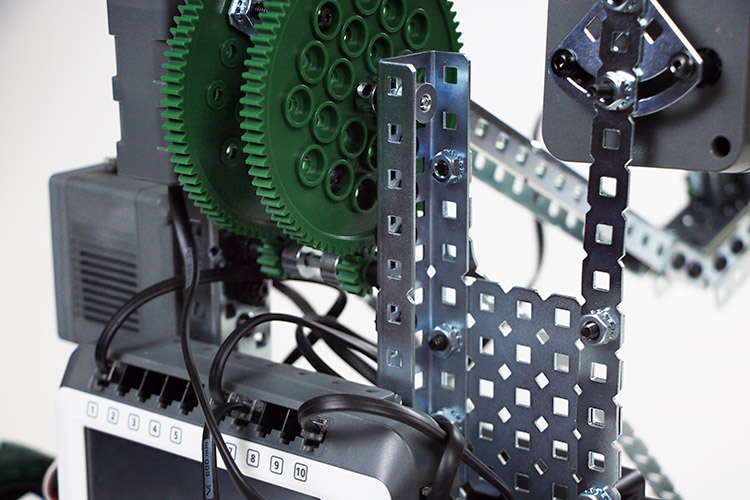
- Use the tools that you assembled to securely mount the V5 Smart Motor to where the previous motor was, near the center of the V5 Clawbot's arm support structure.
- Make sure that the motor is mounted so that it properly aligns and is able to turn the gear.
- Use a Smart Cable to connect your new V5 Smart Motor to Port 8 on your V5 Robot Brain.
