This article is not viewable in your language. Please check back at a future date.
This article's translation was completed by machine translation. Please forgive any possible errors.
Step 1: Gather needed parts and remove the EDR Battery
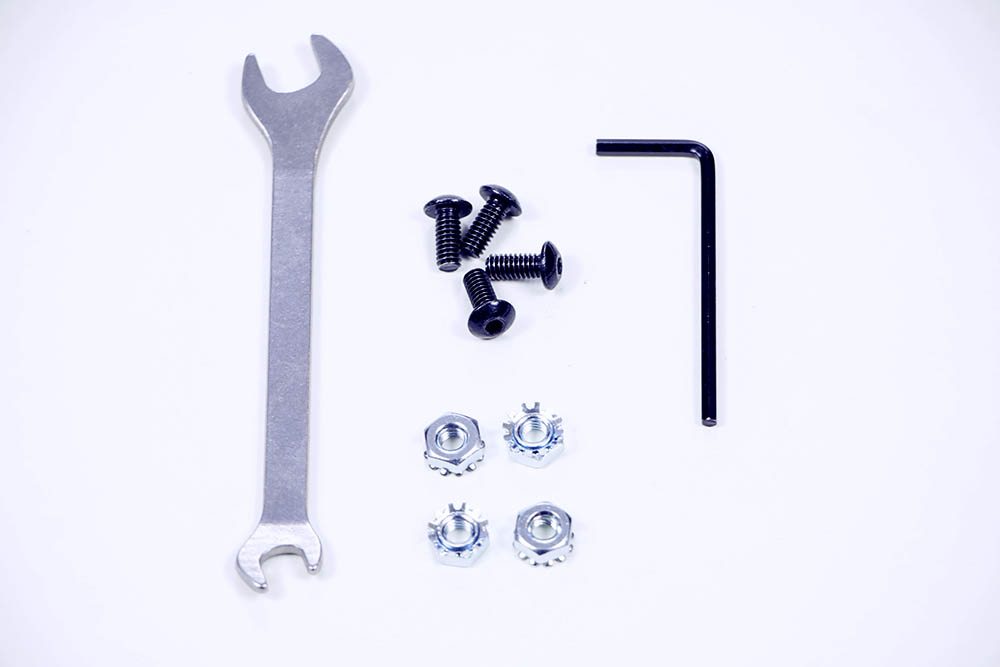
- You will need the following items:
- (1) V5 Robot Battery (not shown)
- (1) V5 Robot Battery Cable (not shown)
- (2) V5 Battery Clips (not shown)
- (4) #8-32 x 1/2" Screws
- (4) #8-32 Keps Nuts
- (1) 11/32" Wrench
- (1) 3-32" Hex Key
- A built VEX EDR Clawbot (not shown)
- When you want to wire the battery, you will also need the V5 Robot Brain mounted to your robot.
- Use the wrench and hex key to remove the VEX EDR Battery Straps and the 7.2V Robot Battery NiMH from your robot before continuing.
Step 2: Mount the V5 Battery Clips
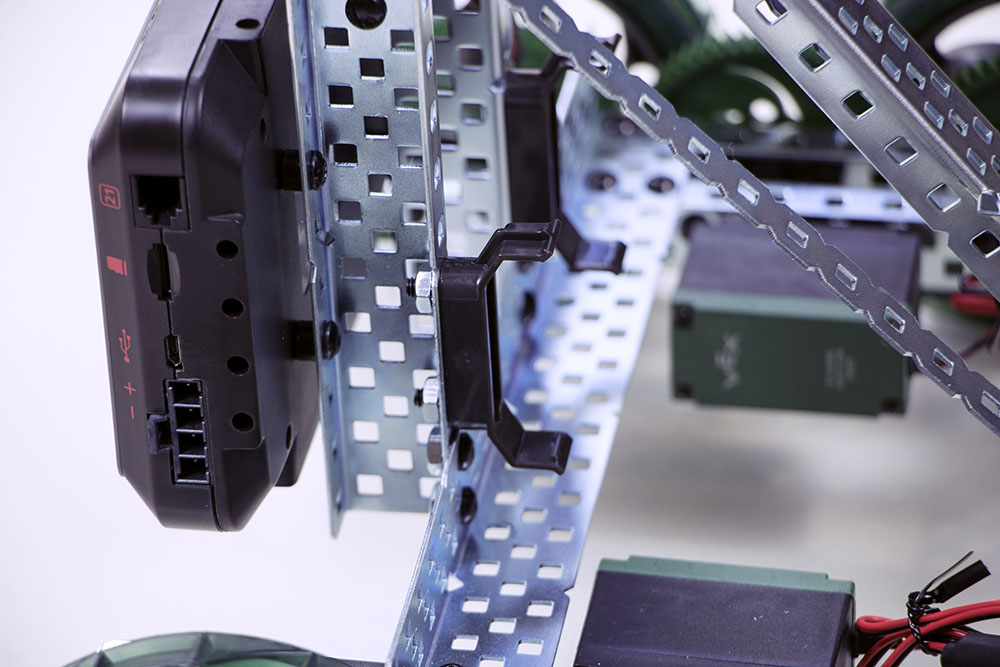
- Mount the two V5 Battery Clips on the bottom of the inner wall structure for the Clawbot arm.
Step 3: Secure the V5 Robot Battery into the clips

- Press the battery into the clips until you hear and feel it click into place.
Step 4: Connect the V5 Robot Battery
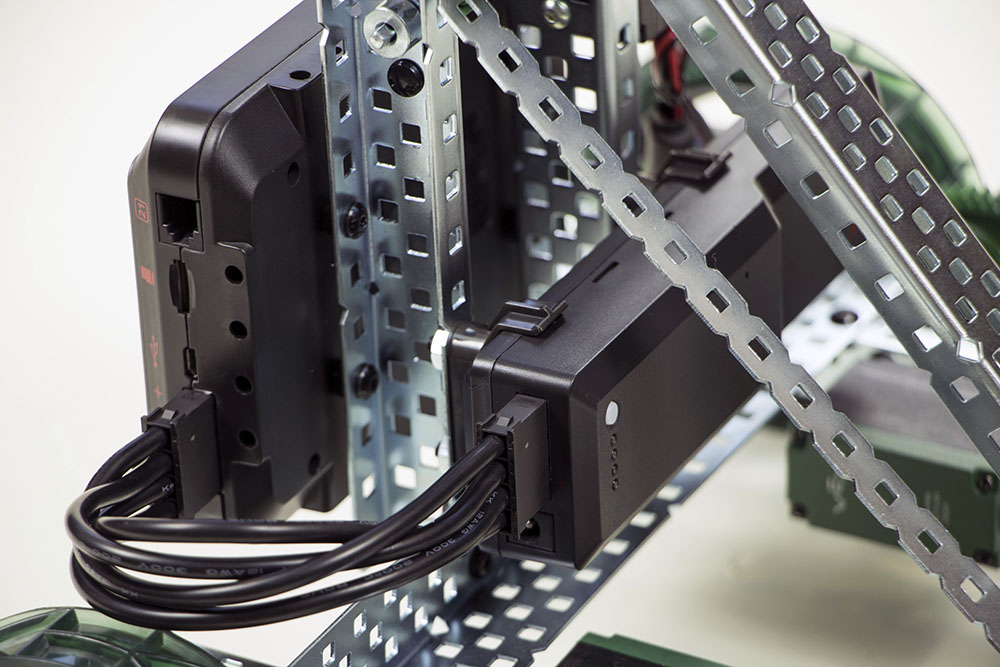
- Wire the battery to the V5 Robot Brain using the battery cable.
- For more detailed instructions on mounting and wiring the battery, see the V5 Clawbot Build Instructions.
